Welcome to another Beginner Series Lesson. We are going to be looking at various methods of tuning a guitar (acoustic, semi-acoustic or electric). No matter how much dexterity you have as a guitarist, once your guitar is out of tune, it would sound really terrible?, which is why it’s important to know how to tune your guitar. Before tuning a guitar, you must have checked and mastered the tuning pegs, they could be all on one side of the guitar (electric style) or three on each side (acoustic style). You also might have to check how the guitar has been strung i.e the direction in which it could tighten or loosen. This lesson would have 4 sections: Theory & Tips of Tuning, Tuning With An Electronic Tuner, Types of Electronic Tuners and Tuning By Ears.
THEORY & TIPS OF TUNING
Its important to remember the names of the strings on the guitar and the order which they follow, this is to help you ease your confusion while tuning and avoid mixing up the strings. The order of the strings on a guitar are E, A, D, G, B, E. You can use mnemonics like:
**Every Amateur Does Get Better Eventually
**Eat All Day Get Big Easy
**Elephants And Donkeys Grow Big Ears
**Eddie Ate Dynamite Good Bye Eddie
You can also coin out your own; the main point of this is to get what works for you to help you remember the name of each string.
Flats: This is the symbol that looks like a small letter ‘b’, when it’s written close to a neutral note, it means the note is flat. When tuning your guitar, if your note is flat, this means you need to tighten your string to pitch a little more higher.
Sharps: This is the symbol that looks like the “hash(#️⃣ )” symbol. When it is written close to a neutral note, it means the note is sharp. When tuning your guitar, if your note is sharp, it means that the note is a bit too high and you should loosen your string to decrease it.
Some electronic tuners use a needle or bar to show you how far away or close enough your tuning is. The needle/bar has to be in the middle?; if its away to the right, it means your string is sharp and you should loosen it. If it’s away to the left, it means your string is flat and you should tighten it. Some tuners may not show you the right note on the display screen, it may show you a light to tell you that you’ve reached the note and your tune is perfect; the light works basically same way as the needle/bar.
TUNING TIPS
#1: Be very careful when tuning your guitar strings, try not to go too tight or too high. When you turn the peg, play the string to make sure its not too tight, if its getting too tight, loose the entire string and start all over, otherwise your string may just snap!
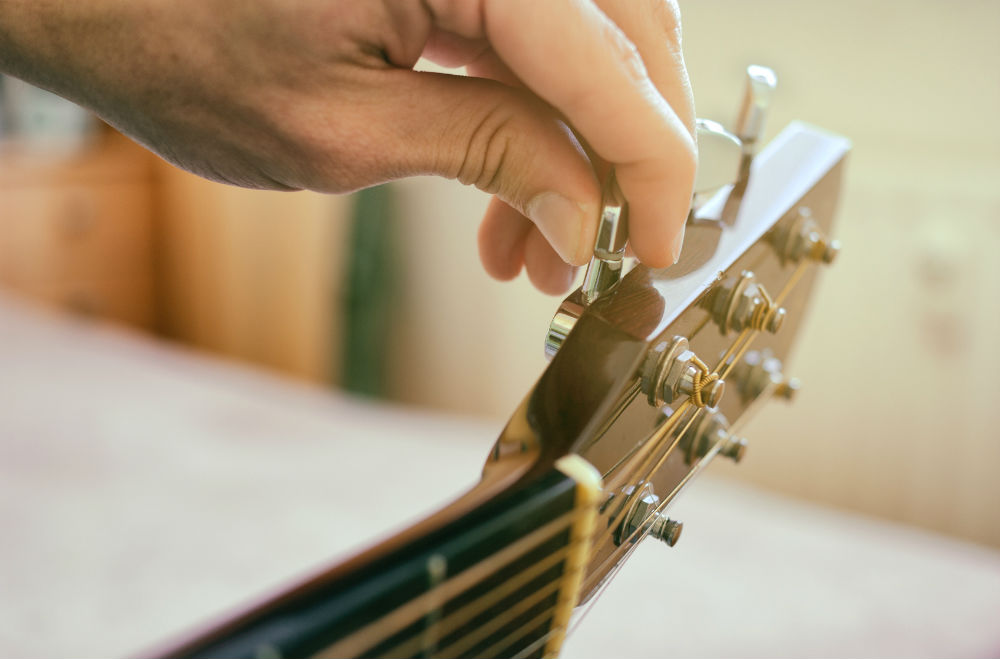
#2: Trace down every string to its corresponding tuning peg. If you want to tune the G string for instance, trace down the G string to the headstock where you have the tuning pegs and make sure its the G string you’re tuning, not a D or B string, or else you might end up tightening and snapping another string without achieving the initial purpose of tuning the intended string.
TUNING WITH AN ELECTRONIC TUNER
We have lots of different tuners to choose from; pedal tuners, handheld tuners, clip-on tuners and even smartphone or tablet tuner apps. Good news is that tuners are pretty much affordable, you don’t need to break a bank to get yourself a decent tuning device. Even if you feel you cannot afford a tuner at some point, you can download a tuner app on your smartphone or other device.
Gauge Your Tuner: If there’s a frequency setting on your tuner, set it to the standard tuning frequency which is A 440 Hz, anything more or less than this will just make you sound out of tune from others.
After gauging your tuner, get every string to its note. If you want to tune the D string for instance, get the string to a D note first, then you can start tweaking gradually up or down to make sure the D note is accurate. When your tuner shows the correct name of the string you’re tuning, still turn the tuning peg slowly until the needle/bar or light (as the case may be) is in the dead centre. Once you’re done with all the strings, go through them again to double check and correct any slightly distuned string.
THERE ARE 3 DIFFERENT TYPES OF ELECTRONIC TUNERS.
- Vibration-based electronic tuner.
- Microphone-based electronic tuner.
- Plug-in / pedal-based electronic tuner.
Vibration-based Electronic Tuner: This electronic tuner is amazing, it’s usually clipped onto the headstock of the guitar. It does not depend on a microphone to pick the pitch of your guitar, it simply “hears” the pitch through vibrations. It’s highly advantageous because if you’re in a noisy environment, like in front of a crowd or you’re busking, the environmental sound will not affect your tuning in any way. When you turn it on and pluck your string, it instantly shows you what note you’re on (it’s that accurate!), then all you need to do is turn the tuning pegs. They have brightly coloured LCD displays, even if you’re in bright light or sunlight, you can still read what’s on them.
Microphone-based Electronic Tuner: Unlike the vibration-based electronic tuner, this one depends on the microphone?; the microphone needs to hear the sound coming from the guitar as clearly as possible. If there’s another environmental sound or if you’re in a noisy environment, the tuner is thrown off balance. Not all microphone-based electronic tuners naturally detect strings (automatic string detection depends on your model). This tuner is not clipped to your headstock like the vibration-based, you can use it just as it is for acoustic guitars and plug in a jack input (if it has one) for electric guitars.
Plug-in and Pedal Tuner: A plug-in tuner is much more expensive than other tuners, but the extreme accuracy is used to compensate for the cost. It has a jack that can be plugged directly into your guitar. A pedal tuner on the other hand, is like every other tuner, it has a light instead of a needle, the only difference with this tuner is that it has to be on the floor and you’ll have to step on the pedal to trigger on or off.
TUNING BY EARS
This might appear difficult especially for someone who does not have a prior musical knowledge. Even if you don’t have a tuner, you can still tune your guitar to itself or by ears using the 5th Fret Tuning Technique.
THE “5TH FRET” TUNING TECHNIQUE
Low E String: The low E string should already be in tune. You can use a piano or another guitar, for you to successfully tune a guitar by ear, it is important that your low E string be in perfect tune, because it’s on the basis of this string that we would build the other strings. If there is no tuner or another instrument close by, you’d have to rely on your ears and tune your low E string to the best of your ability.
A String: Go to the 5th fret of the low E string (this is an A note). Since the 5th string is an open A string, it should give you the exact sound like the note on the 5th fret of the E string (the A note).
D String: Go to the 5th fret of the A string (this should give you a D note). Ant then tune the D string accordingly.
G String: Go to the 5th fret of the D string to give you a G note, then tune the G string accordingly.
B String: Go to the 4th fret (instead of the 5th) of the G string to give you an open B note, then tune the B string accordingly.
High E String: Go to the 5th fret of the B string to get into the high E string, then tune accordingly.
NOTE: Always double check your tuning, whether you’re tuning using a tuner or tuning by ears. In the process of tuning other strings, you may have accidentally touched some others, double checking always helps to ensure that all your strings are properly in tune before you start playing.
START TUNING!


2 comments